
|
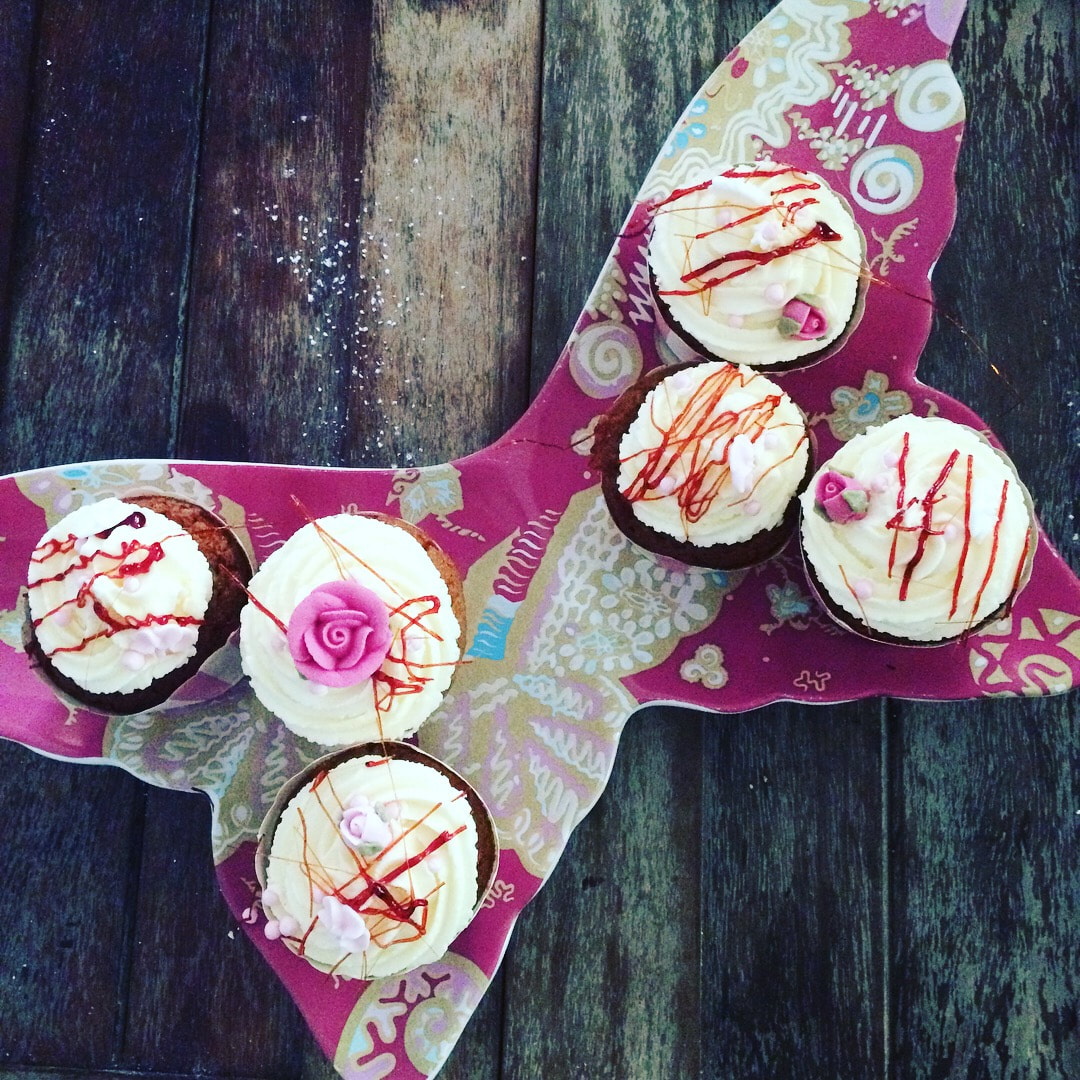
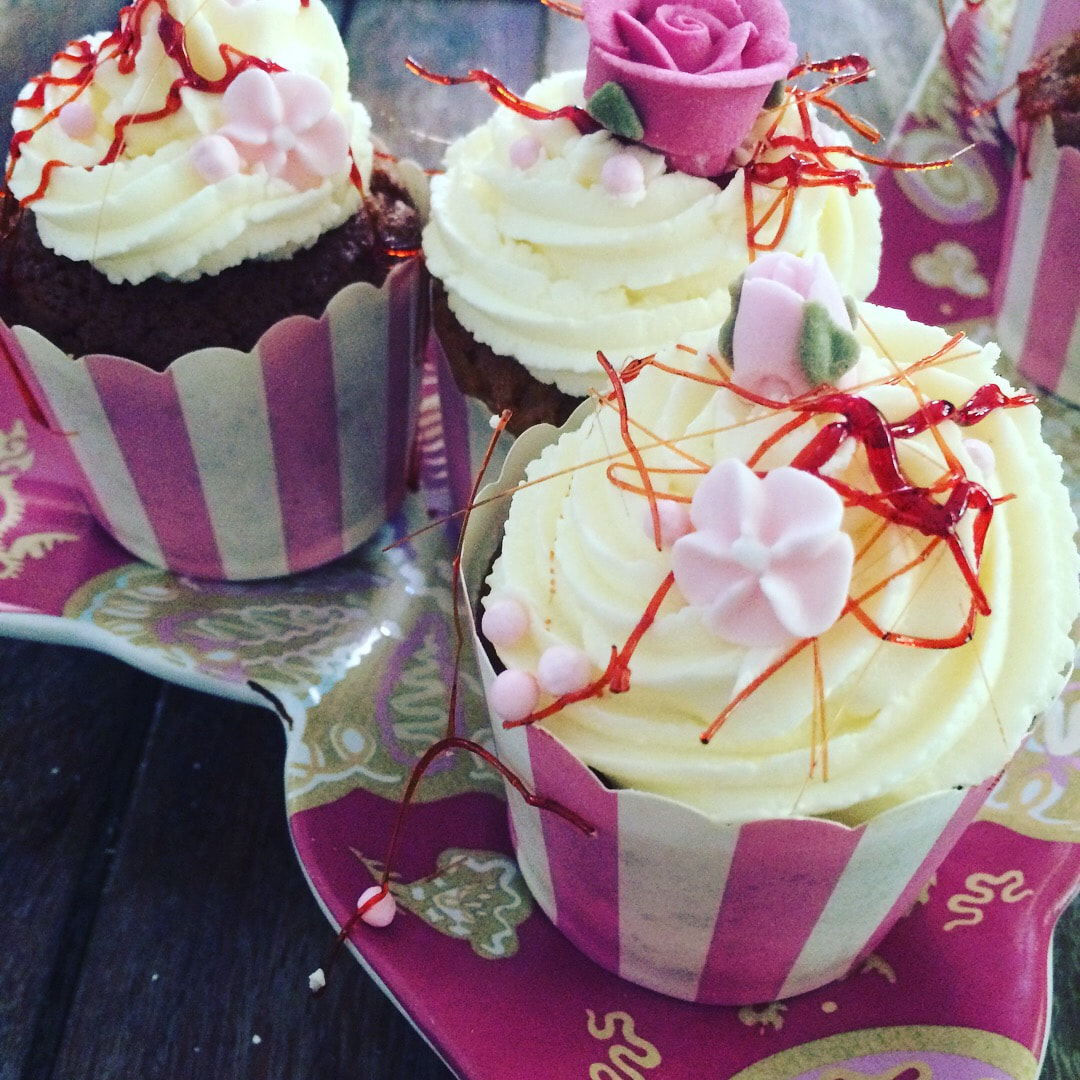
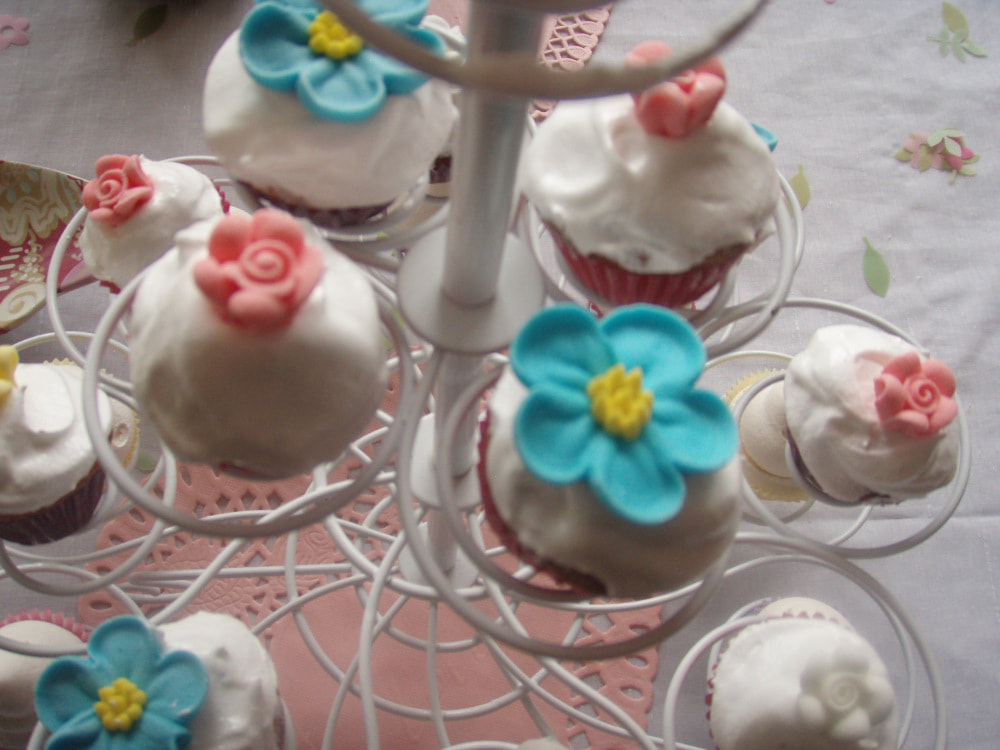
I made some delicious caramel mud cupcakes for a baby shower over the weekend. Instead of using all brown sugar, I substituted half with dark muscovado sugar and it really took the caramel flavour to a new level. The cupcakes were iced with white chocolate buttercream with pink toffee strands and sugar flowers to decorate the little beauties.
the recipe I used was in Cupcakes, cheesecakes, cookies: the Australian women's weekly by Pamela Clark, 2008, ACP Magazines Ltd, page 22 and I tweaked it by adding the dark muscovado sugar and only using self-raising flour to keep the cake light. makes 12 - 15 cupcakes ingredients 125g unsalted butter, chopped coarsely 100g white chocolate, coarsely chopped 1/3 cup brown sugar 1/3 cup dark muscovado sugar 1/4 cup golden syrup 2/3 cup milk 1 1/3 cups self raising flour 1 egg method preheat the oven to 150 degrees celsius for a fan forced oven. combine the butter, chocolate, sugar, syrup and milk in a small saucepan, stir over low heat, until melted and smooth. Take off the heat and allow it to cool for 15 minutes. put the flour into a large bowl and slowly whisk in the melted mixture and then the egg. spoon into the cupcake cases and bake in the oven for about 30 minutes. Keep an eye on them and test after 20 minutes by pressing on the cupcake, if it bounces back then its cooked but if you finger sinks in you may want to leave it to cook just a little longer. once cooked, transfer the cupcakes to a wire rack and allow to cool. white chocolate buttercream ingredients 70g unsalted butter at room temperature 250g icing sugar 50g white chocolate, coarsely chopped method beat the unsalted butter and add a quarter of the icing sugar, beat in well, then add the next quarter and keep beating until all of the icing sugar is used. if it looks to grainy, add a teaspoon of milk to loosen it up. melt the white chocolate in a bowl over a saucepan of simmering water and allow to cool slightly. Add a spoonful of white chocolate into the buttercream, then beat it in, then keep adding spoonfuls of chocolate until it is all gone. now you are ready to ice and decorate the cupcakes. Just wait until the cupcakes are completely cool before icing them! Please give this recipe a go and let me know how you get on. Especially with my buttercream recipe as I just 'chuck' in the ingredients!!!
0 Comments
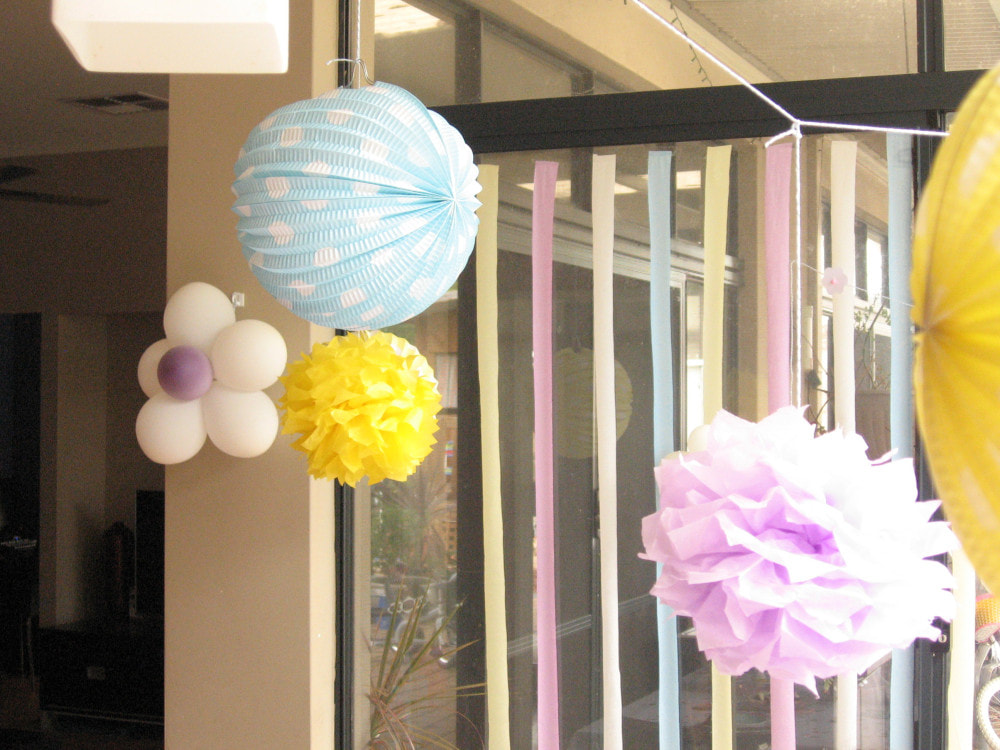
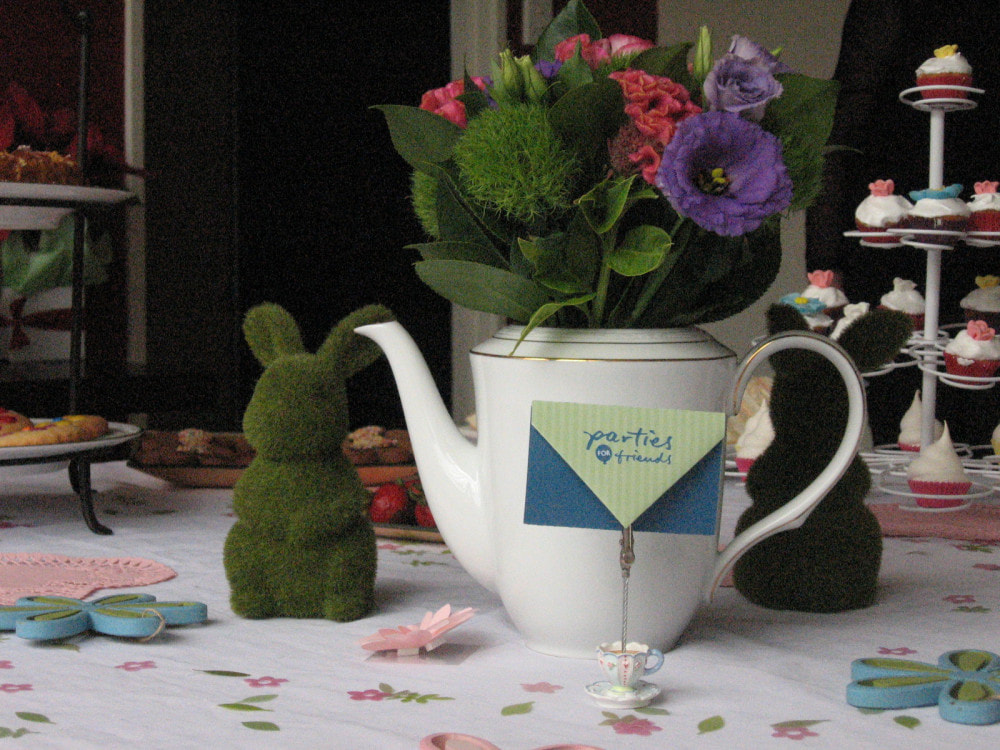
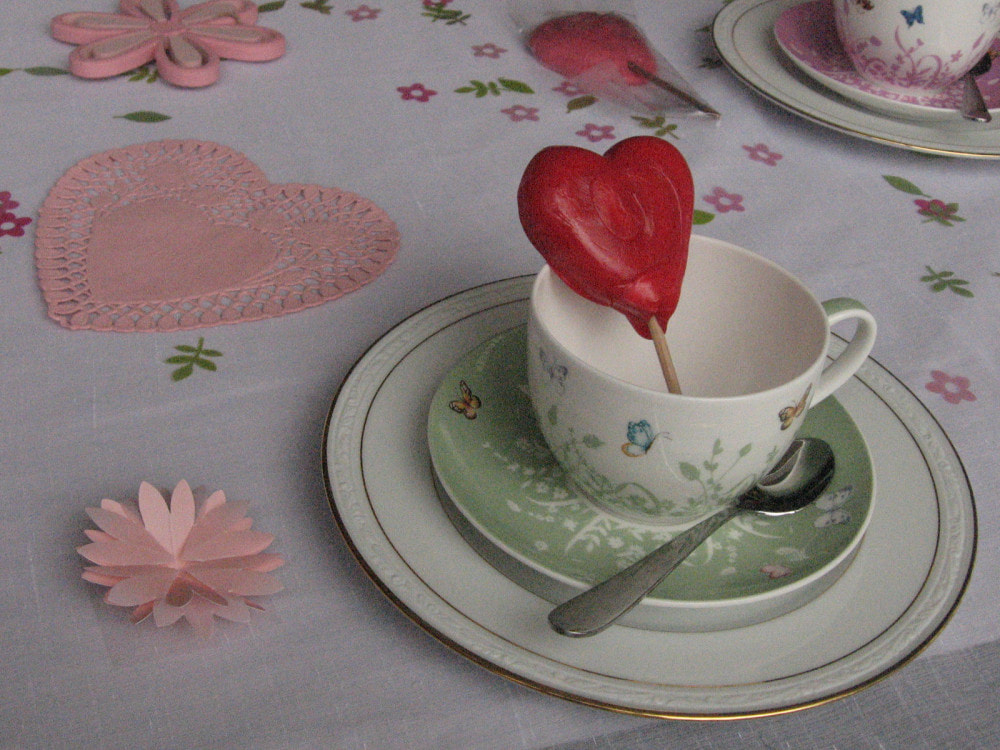
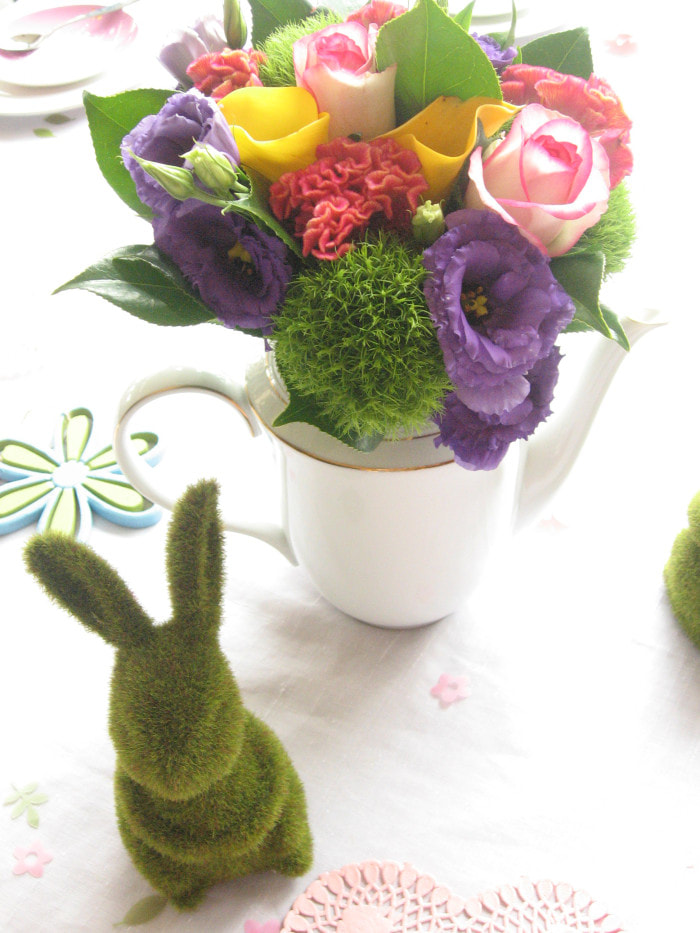
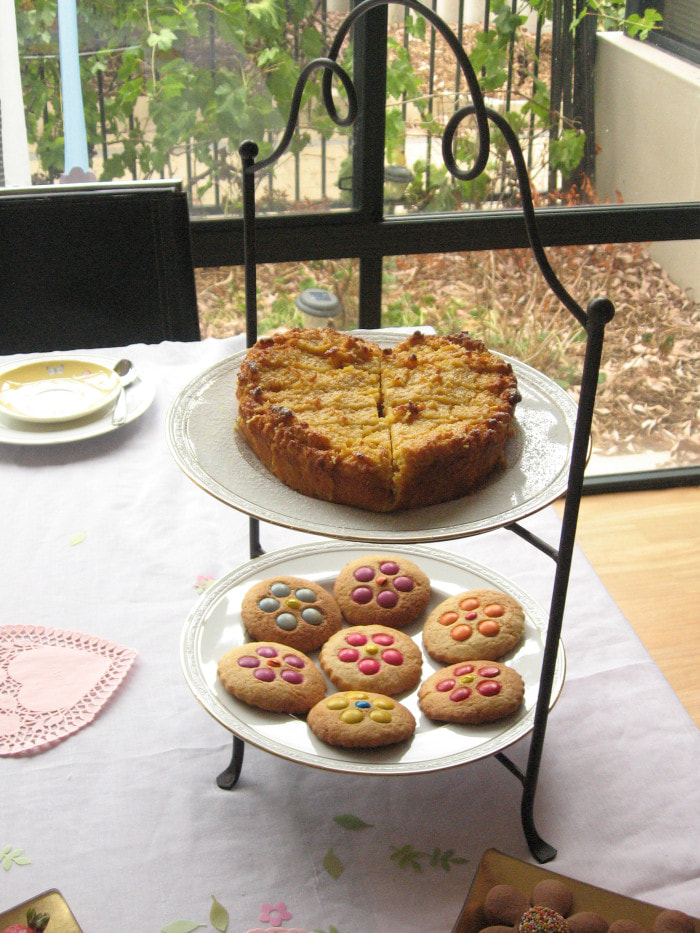
In February 2011 my daughter hosted a flower themed afternoon tea party. We had cupcakes, biscuits in flower shapes (of course), sandwiches, scones and chocolate covered strawberries. It was a lovely afternoon and almost all of the decorations were made by myself with my daughter’s ‘help’! It is really quite amazing if you think outside the box and use what you already have around the house. One thing I did learn was the type of food was a bit too fancy for the 9 year old girls -they did not like the white chocolate scones or the flourless orange cake, luckily the adults did so next time I will just host one of these for my friends rather than my daughter’s!
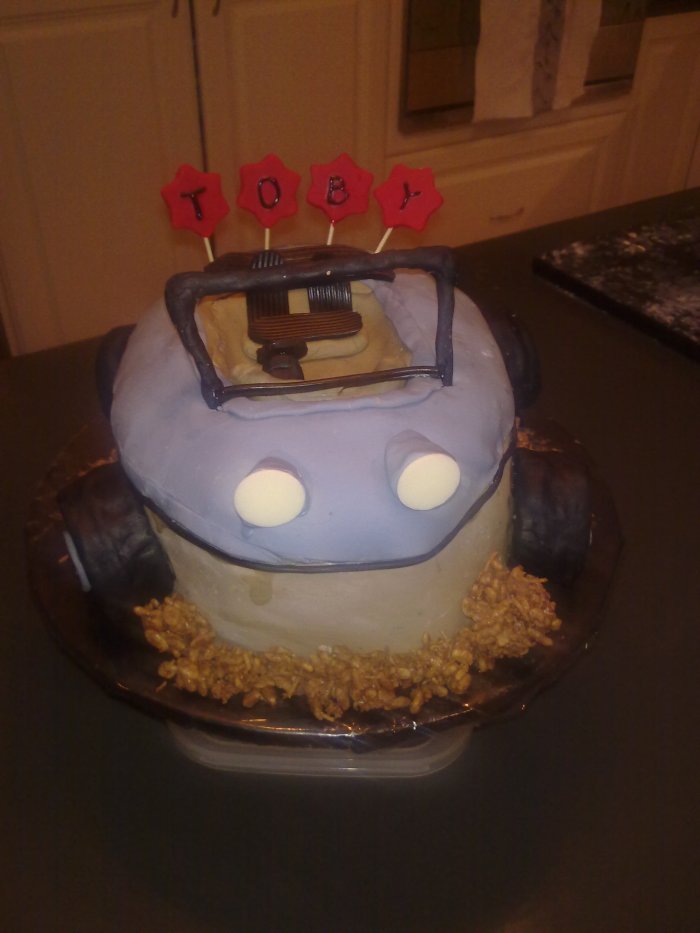
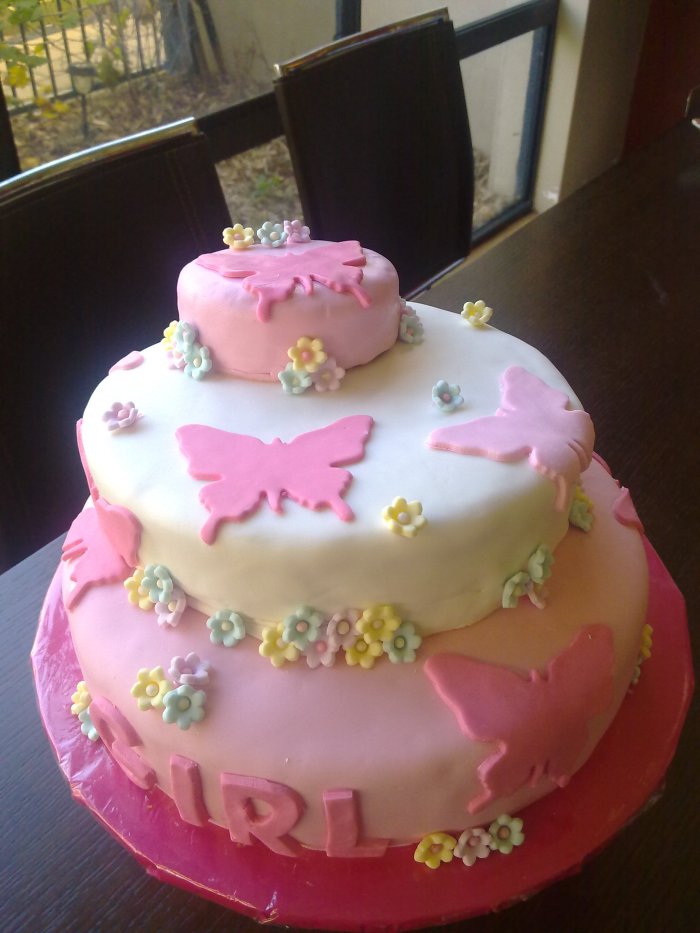
in June 2011, I was commissioned to make two cakes for two very different occasions: a boys’ 7th birthday party; and a baby shower for a friend. I was asked whether I could make a dune buggy cake, ‘sure I said’ then quickly searched dune buggy cakes online to see what I was in for. As you can see it turned out pretty good – I even put chocolate crackle mixture around the bottom of the cake so that the buggy was driving over rocks and sand! The baby shower cake had to fit within a pink butterfly theme and this was what I came up with.
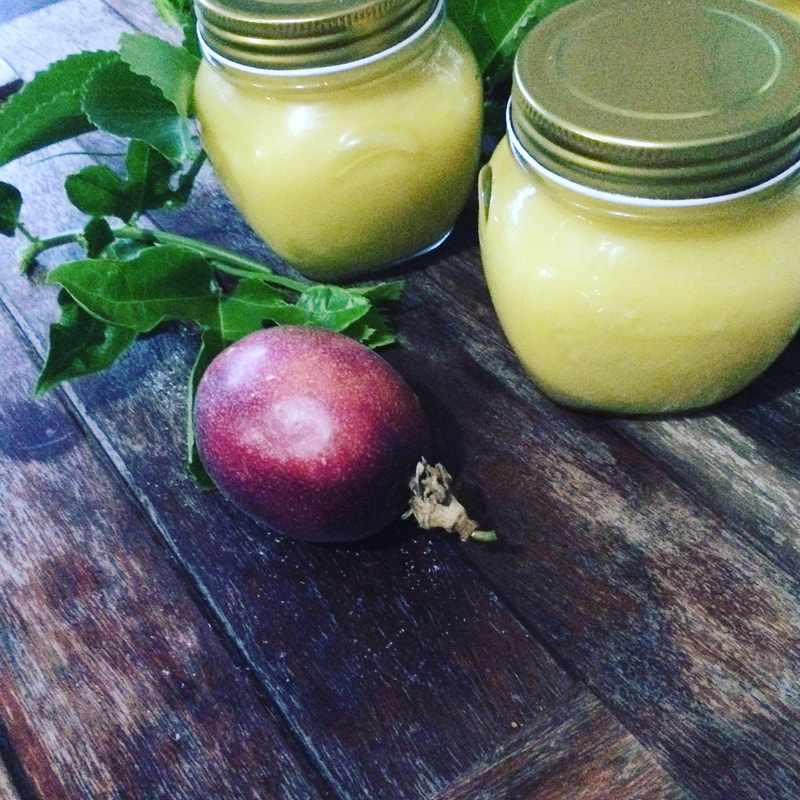
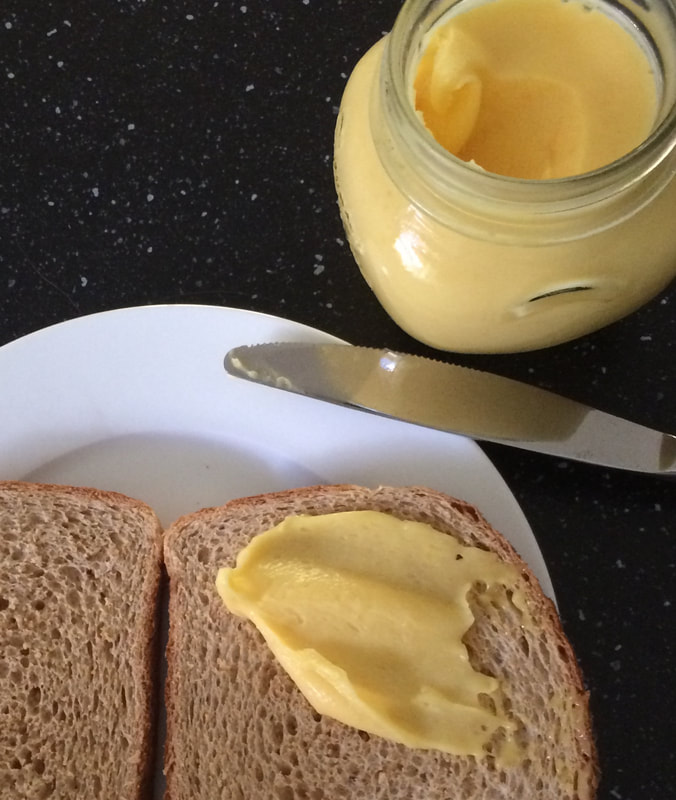
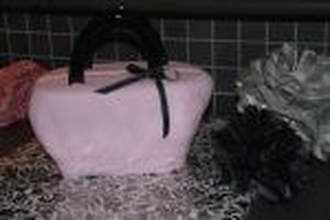 each year my daughter picks a theme for her birthday party. In 2011 it was a handbag party. She chose it based on the handbag cake shown in a cake book. As the cake was pink, the colour theme had to be pink, black and silver. The cake I baked a rich chocolate cake, iced it in chocolate ganache and rolled icing. To save time and to make it more authentic, I bought black plastic handles and placed them on the cake. I had a number of people having to take a second look as they thought it was a real handbag rather than a cake! Wait a minute, this is a cake NOT a handbag! Decorations I made 21 tissue pom poms in various sizes in pink, black and silver and hung them around the dinner table and lounge room. They look awesome and a cheap way to decorate a room. The only costs involved are sheets of tissue paper and string. I also had some handbag images printed and stuck them around the place with blu tac. Along with a Happy Birthday sign. With some small groups of balloons the room looked fantastic. Please let me know if you would like any further details on the handbag party as a theme for your next little girls birthday. 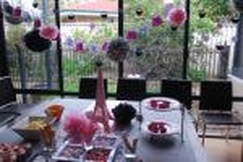 our passion fruit vine has gone nuts this year and we have been patiently waiting for the hundreds of fruit to ripen. They are now ripening at a rapid rate so I have had to find ways to use this fruit. 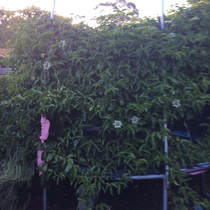 here is the vine, it has completely taken over the kids trampoline! so what did I make with the passion fruit that are ripening about 10 a day. I made passionfruit muffins, banana & passionfruit bread and passionfruit curd. The curd was great, that used about 16 passionfruit! I will keep you posted as to my other creative ways to use passion fruit, other than just putting it over ice-cream!
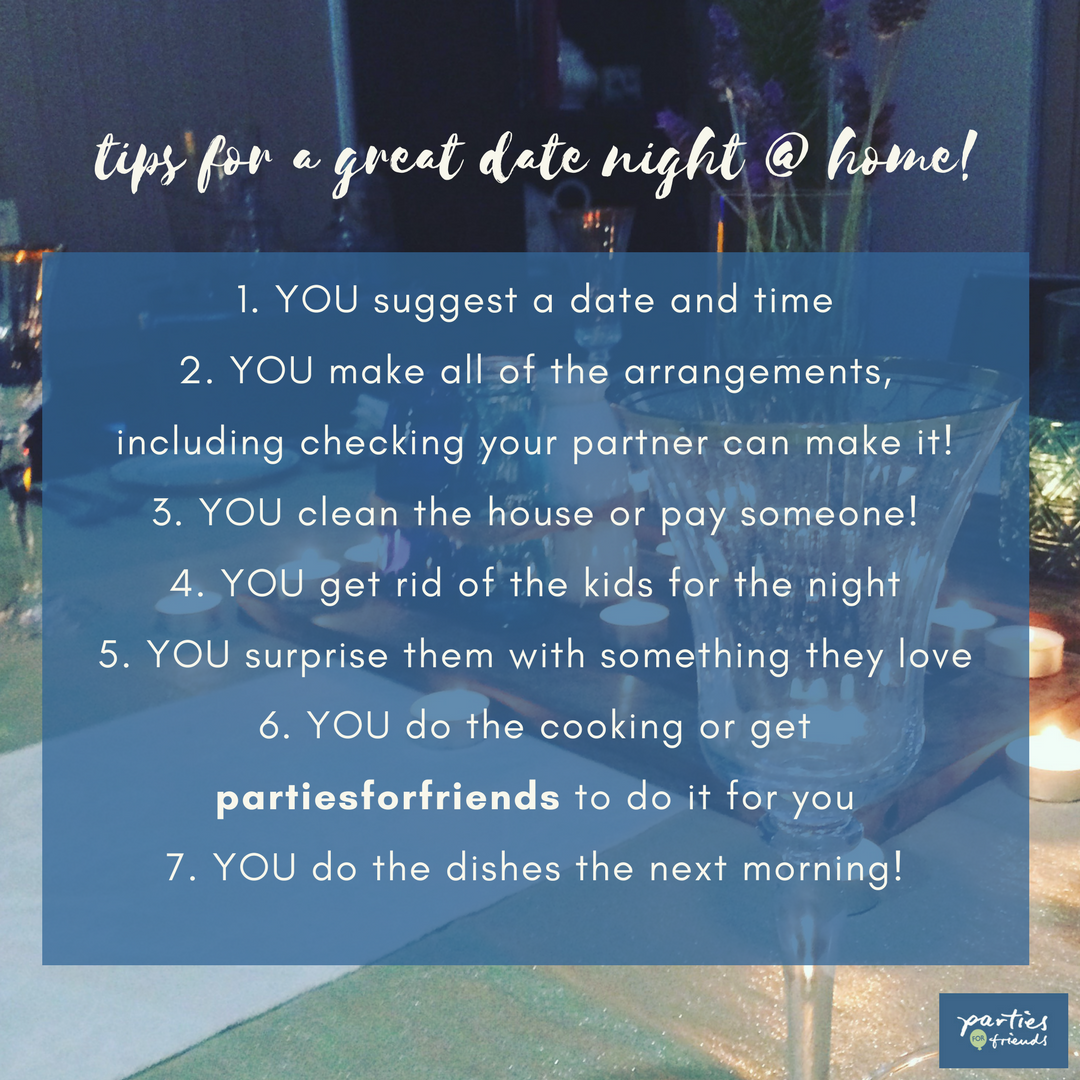 with February being the month of LOVE, I thought I would share my tips for a great date night at home!
 Mothers Day, what a great excuse to spoil the Mum, mothers in law and grandmothers in your life. This year I developed a spoil your Mum promotion where you could choose to have me come out to cook you, your Mum and the rest of the family a decadent, sumptuous five course meal or cook the meal yourself with a specially written guide with everything you need to make the meal a special event for your Mum without the stress for you. The guide includes all of the menus, shopping lists, timelines and recipes with my cooking notes.
but GREAT NEWS, spoiling your Mum can be done anytime of the year and so the packages will be available all year round. Click here for more details on how you can spoil your Mum.  hi and welcome to the parties cooking community.
my hope for this community is that together we can cook up and test each others fantastic recipes, find some helpful advice and tidbits that will help you to host your next fabulous and stress-free party and generally have a good chit chat on food, cooking and parties! |
Debbie Harrison-Stonehi, I'm Debbie, a food lover, cook and culinary creative! Archives
April 2021
Categories |


 RSS Feed